Some apps may not work well or the battery drains fast in iOS 17, so here I will show you how to safely downgrade from iOS 17 beta back down to iOS 16. You can do the downgrade without data loss even if you don’t have a backup in iOS 16. The catch is that you can only restore to the latest stable version of iOS 16.
My Experience with iOS 17 Beta
First, I updated my iPhone to iOS 17 beta. I really like the feature for removing background from images. In the iOS 17 beta, my iPhone was too hot and the battery drained fast. What’s worse, it didn’t detect my SIM card. When I reinserted the SIM card, the service signal was fine, but I could not receive phone calls while successfully making phone calls.
The heat and battery drain are my main reasons for reverting back to iOS 16. If you also want to restore to iOS 16 and wait for the stable release of iOS 17, you can follow the steps to avoid data loss.
Prepare a Backup
To downgrade iOS 17 to iOS 16 without losing your data, you should create a backup with everything on your iPhone or iPad now. To make sure the restoration goes smoothly, you should prepare the things below step by step.
iCloud Backup (Optional)
It might be not necessary but recommended to create an iCloud backup. During the restore, you won’t need to use the iCloud backup to restore everything. It is backup in case anything goes wrong.
To make an iCloud backup, go to your Settings and tap on the profile picture. From there, go to iCloud and then iCloud backup. You want to make sure this is turned on and then, back up now. This way, you have a brand new backup of all of your data in iCloud.
Turn off Find My iPhone
During the restore, Find My has to be turned off. Within Settings, Tap [your name] > Find My. Then tap Find My iPhone and tap to turn it off. You will need to enter your Apple ID password to confirm.
Reset All Settings (Not Erase iPhone)
Some of the settings in iOS 17 could conflict with those in iOS 16 and cause some bugs. Therefore, you should reset all settings to avoid issues ahead of time. Go to Settings > General > Transfer or Reset iPhone > Reset and then select Reset All Settings. No data or media will be deleted.
Create a Backup on your PC or Mac
With all the above things ready, now you can make a backup of your iPhone on your computer. Whether you use a Mac or Windows PC, you can refer to the steps below to back up your iPhone or iPad accordingly.
Step 1. Connect iPhone and your computer with a cable.
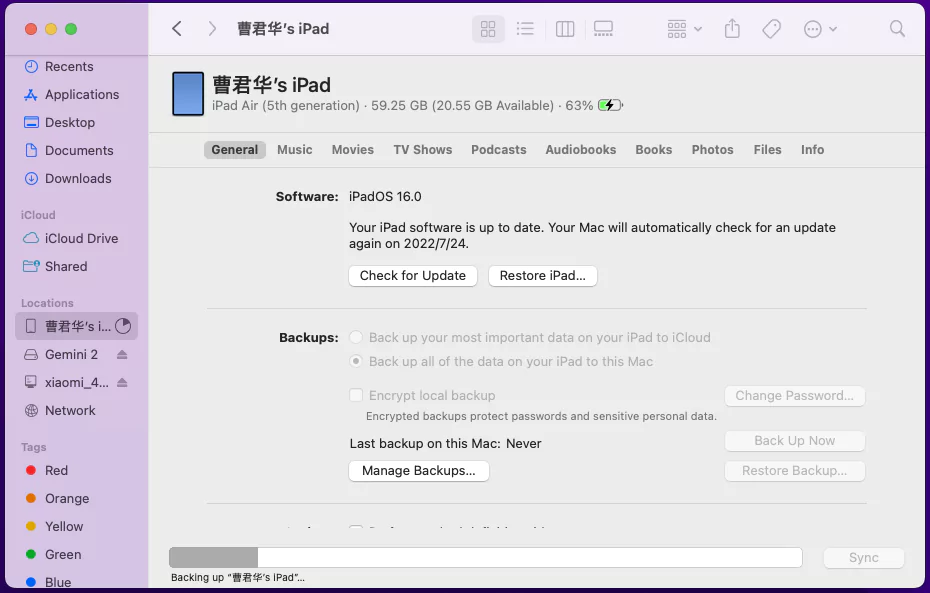
Step 2. Open the Finder app on your Mac, and select your iPhone on the sidebar. For Windows or macOS 10.14 or earlier, you should use iTunes to back up iPhone.
Tep 3. At the top of the Finder window, click General and select “Back up all of the data on your iPhone to this Mac.”
Step 4. Click Back Up Now. You can also select to encrypt your backup data and protect it with a password if needed.
Revert iOS 17 to iOS 16 without Data Loss
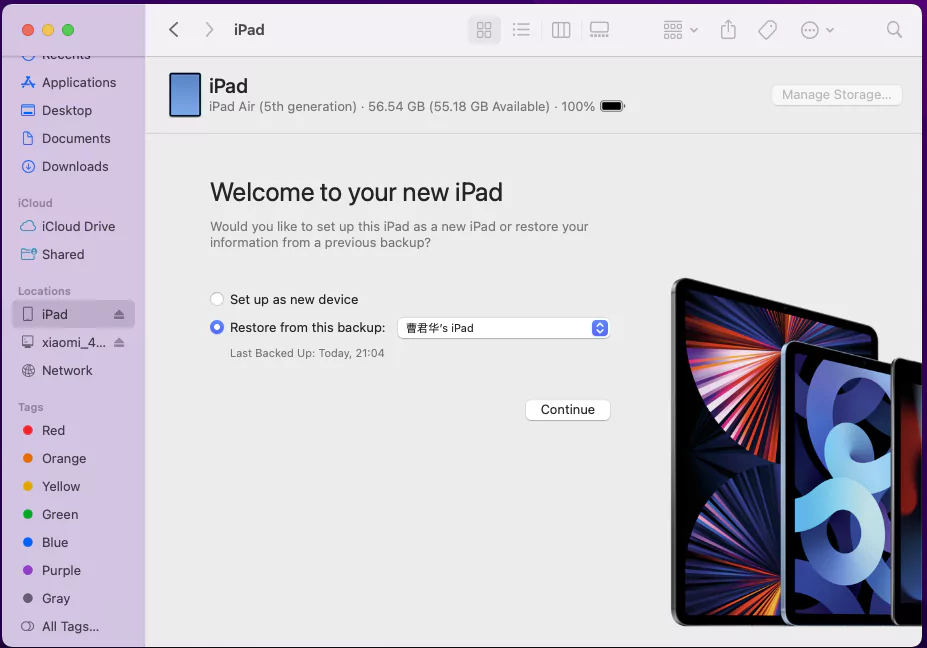
When the backup is ready, you can start to restore your iPhone to iOS 16. The officially confirmed method is to fresh install iOS 16 and restore an iCloud backup. This way, you still need to log in to all the accounts and the chat history may be gone. Luckily, you can follow the steps below to restore everything, including login info.
Download iOS 16 IPSW
If you have created a backup of the iPhone while on iOS 16, you can jump to the next part. Otherwise, you can download the clean iOS 16 IPSW file. Now open your computer web browser and go to ipsw.me website. This is where you can download the IPSW file for our corresponding device.
Once you’re on the website, you can click on the iPhone or iPad that you want to downgrade. After you select the corresponding device, then you will be able to see the assigned IPSW files. When I do this, only iOS 16.5.1 is available. You can just look for the green check mark and the green text. That is the one that you are currently able to downgrade to.
The IPSW file is about 6.5 GB in size, so it may take a while to download, especially on a Mac.
Uninstall iOS 16 Beta
Since the release of macOS Catalina, Apple has removed iTunes for Mac and made the Finder app the central hub for managing iOS devices. You can use the Finder app to restore iOS 17 to iOS 16. You may use the same procedure outlined below in iTunes for Windows or an older version of macOS.
Step 1. Connect your iPhone or iPad to your computer using the USB cable.
Step 2. Within the Finder app, select your iOS device from the sidebar. On Windows, you should select it from iTunes.
Step 3. Select “Restore iPhone” or “Restore iPad” while holding down the Option key on a Mac or Shift key on Windows.
Step 4. Select the IPSW file you downloaded and click “Open” to continue. This will erase all your data, so make sure you have made a backup as addressed above. If you have an iOS 16 backup, you can select that backup to restore.
Tep 5. When Finder prompts you to confirm the restoration, select “Restore” to bring your iOS device back to factory settings. Your Mac will erase and restore your iPhone to 16.5.1 or later version. Wait for the process to complete and make your phone stay plugged in this entire time.
Get Your Data Back
When you see the hello screen, you have completely uninstalled iOS 17 beta and now you can set up your iPhone in iOS 16. From here, you can restore your iPhone from an iCloud backup, but it takes more time and an iCloud backup does not include everything.
To get everything on iOS 17, you can restore from the backup that you created on your computer. The problem here is that Apple by default does not allow you to back up from a newer version to an older version. There is a workaround to restore backup on iOS 17 to iOS 16. You can refer to the steps below based on the device you want to restore.
Step 1. Click on your device from the Finder sidebar or iTunes.
Step 2. Click “Manage Backups” and you will see the backup that you created right before you did the restore. You want to right click on that and go to show in Finder.
Step 3. Open the folder and locate the “info.plist” file and open it with your text editor app.
Step 4. Press on command + F on Mac or CTRL + F on Windows to find “product version” in this document.
Step 5. Once you find the words “product version”, you should see the string that says “17.0” below. You just need to change it to “16.0” and then press command S to save the change.
Step 6. Go back to our finder window and select Restore iPhone and select the backup that you just modified.
Now it should erase and restore your device again, but this time you will have all the data back that you had on iOS 17, and you will return back to iOS 16. Make sure to keep your iPhone plugged into the computer until the restore completes.
Final Thoughts
With all these steps, you can downgrade iOS 17 back to iOS 16 without losing data. You will still see the chat history and don’t have to log in to your accounts in all the apps. You only need to configure some settings based on your preference because you have reset all settings before.
If you think it is too much work, you can simply uninstall iOS 17 beta with the downloaded IPSW file and then restore it from iCloud backup.
Very clear and useful. In addition to downgrade via Finder or iTunes, some software also has the feature to upgrade or downgrade ios version, maybe easier than downgrade manually, like Joyoshare UltFix, Tuneskit, iMyFone Fixppo,etc. When iOS 17 released, my iPhone upgrades automatically, but I prefer the previous version, so I tried Joyoshare to downgrade with success. However, it’s also necessary to back up first if you are going to use a third-party tool.